使用Json-server搭建mock服务器
Json-server项目是一个开源的REST API服务器。使用者通过json定义好数据,就可以自动生成相关的API接口,并提供了很多自定义选项。
1.安装
yarn global add json-server
2. 使用示例
1). 创建一个db.json文件
例如
{
  "posts": [
    { "id": 1, "title": "json-server", "author": "typicode" },
    { "id": 2, "title": "json-server 2", "author": "typicode 2" },
    { "id": 3, "title": "json-server 3", "author": "typicode 3" }
  ],
  "comments": [
    { "id": 1, "body": "some comment", "postId": 1 }
  ],
  "profile": { "name": "typicode" }
}
2). 运行 json-server
json-server -p 3088 --watch db.json
3). 默认首页
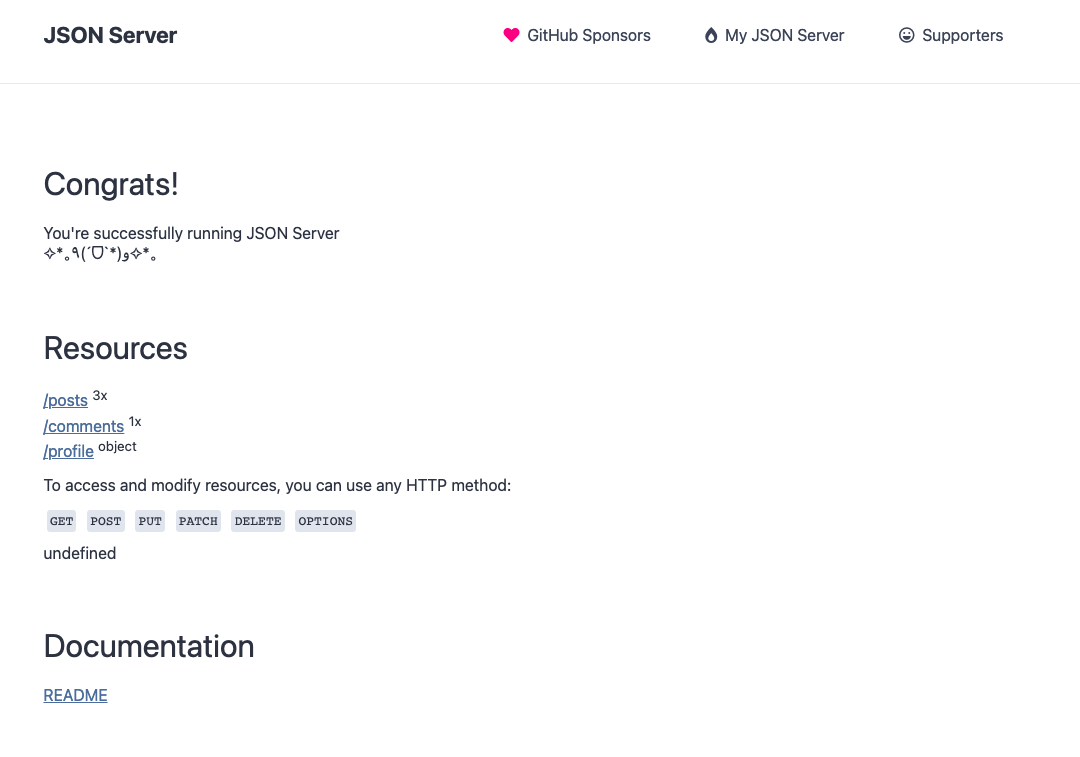
通过浏览器访问: http://localhost:3088,可以查看默认首页。

4). 测试接口
json-server根据db.json自动生成以下接口:
  http://localhost:3088/posts
  http://localhost:3088/comments
  http://localhost:3088/profile
测试
- 查看所有posts
curl http://localhost:3088/posts
[
  {
    "id": 1,
    "title": "json-server",
    "author": "typicode"
  }
]
- 查询id=3的post
 curl http://localhost:3088/posts/3
{
  "id": 3,
  "title": "json-server 3",
  "author": "typicode 3"
}
3. 更多用途
1). 命令行参数
json-server help
json-server [options] <source>

选项:
  -c, --config                   Path to config file[默认值: "json-server.json"]
  -p, --port                     Set port                         [默认值: 3000]
  -H, --host                     Set host                  [默认值: "localhost"]
  -w, --watch                    Watch file(s)                            [布尔]
  -r, --routes                   Path to routes file
  -m, --middlewares              Paths to middleware files                [数组]
  -s, --static                   Set static files directory
      --read-only, --ro          Allow only GET requests                  [布尔]
      --no-cors, --nc            Disable Cross-Origin Resource Sharing    [布尔]
      --no-gzip, --ng            Disable GZIP Content-Encoding            [布尔]
  -S, --snapshots                Set snapshots directory           [默认值: "."]
  -d, --delay                    Add delay to responses (ms)
  -i, --id                       Set database id property (e.g. _id)
                                                                  [默认值: "id"]
      --foreignKeySuffix, --fks  Set foreign key suffix (e.g. _id as in post_id)
                                                                  [默认值: "Id"]
  -q, --quiet                    Suppress log messages from output        [布尔]
  -h, --help                     显示帮助信息                             [布尔]
  -v, --version                  显示版本号                               [布尔]

示例:
  json-server db.json
  json-server file.js
  json-server http://example.com/db.json
2). 充当web服务器
如果json-server命令执行的目录下有public文件夹,则该文件夹自动成为json-server的html root文件夹。
也可以通过--static指定其他的html文件夹。
注意
如果存在public文件夹,或者指定了static目录,不论是不是有index.html,都会替换json-server自动生成的首页。
3). 指定端口
--port <端口>
4). 开启跨域访问
--no-cors 关闭CORS
5). 程序生成数据
输入的数据不仅可以是json文件,还可以是js文件,并实现通过编程生成数据。
例如,以下示范如何通过代码生成1000条用户数据
module.exports = () => {
  const data = { users: [] }
  // Create 1000 users
  for (let i = 0; i < 1000; i++) {
    data.users.push({ id: i, name: `user${i}` })
  }
  return data
}
注意
js数据文件只在启动的时候被加载,所以数据在json-server启动后,是固定不变的。
与json文件不同,即使添加了--watch也不会重新被加载。
6). 自定义路由
添加routes.json文件,可以自定义路由。
例如
{
  "/api/*": "/$1",
  "/:resource/:id/show": "/:resource/:id",
  "/posts/:category": "/posts?category=:category",
  "/articles\\?id=:id": "/posts/:id"
}
4. https?
json-server默认无法配置ssl,但是可以使用typicode的另一个项目hotel来实现。
